Chrysler Mold Designed and Machined
Product
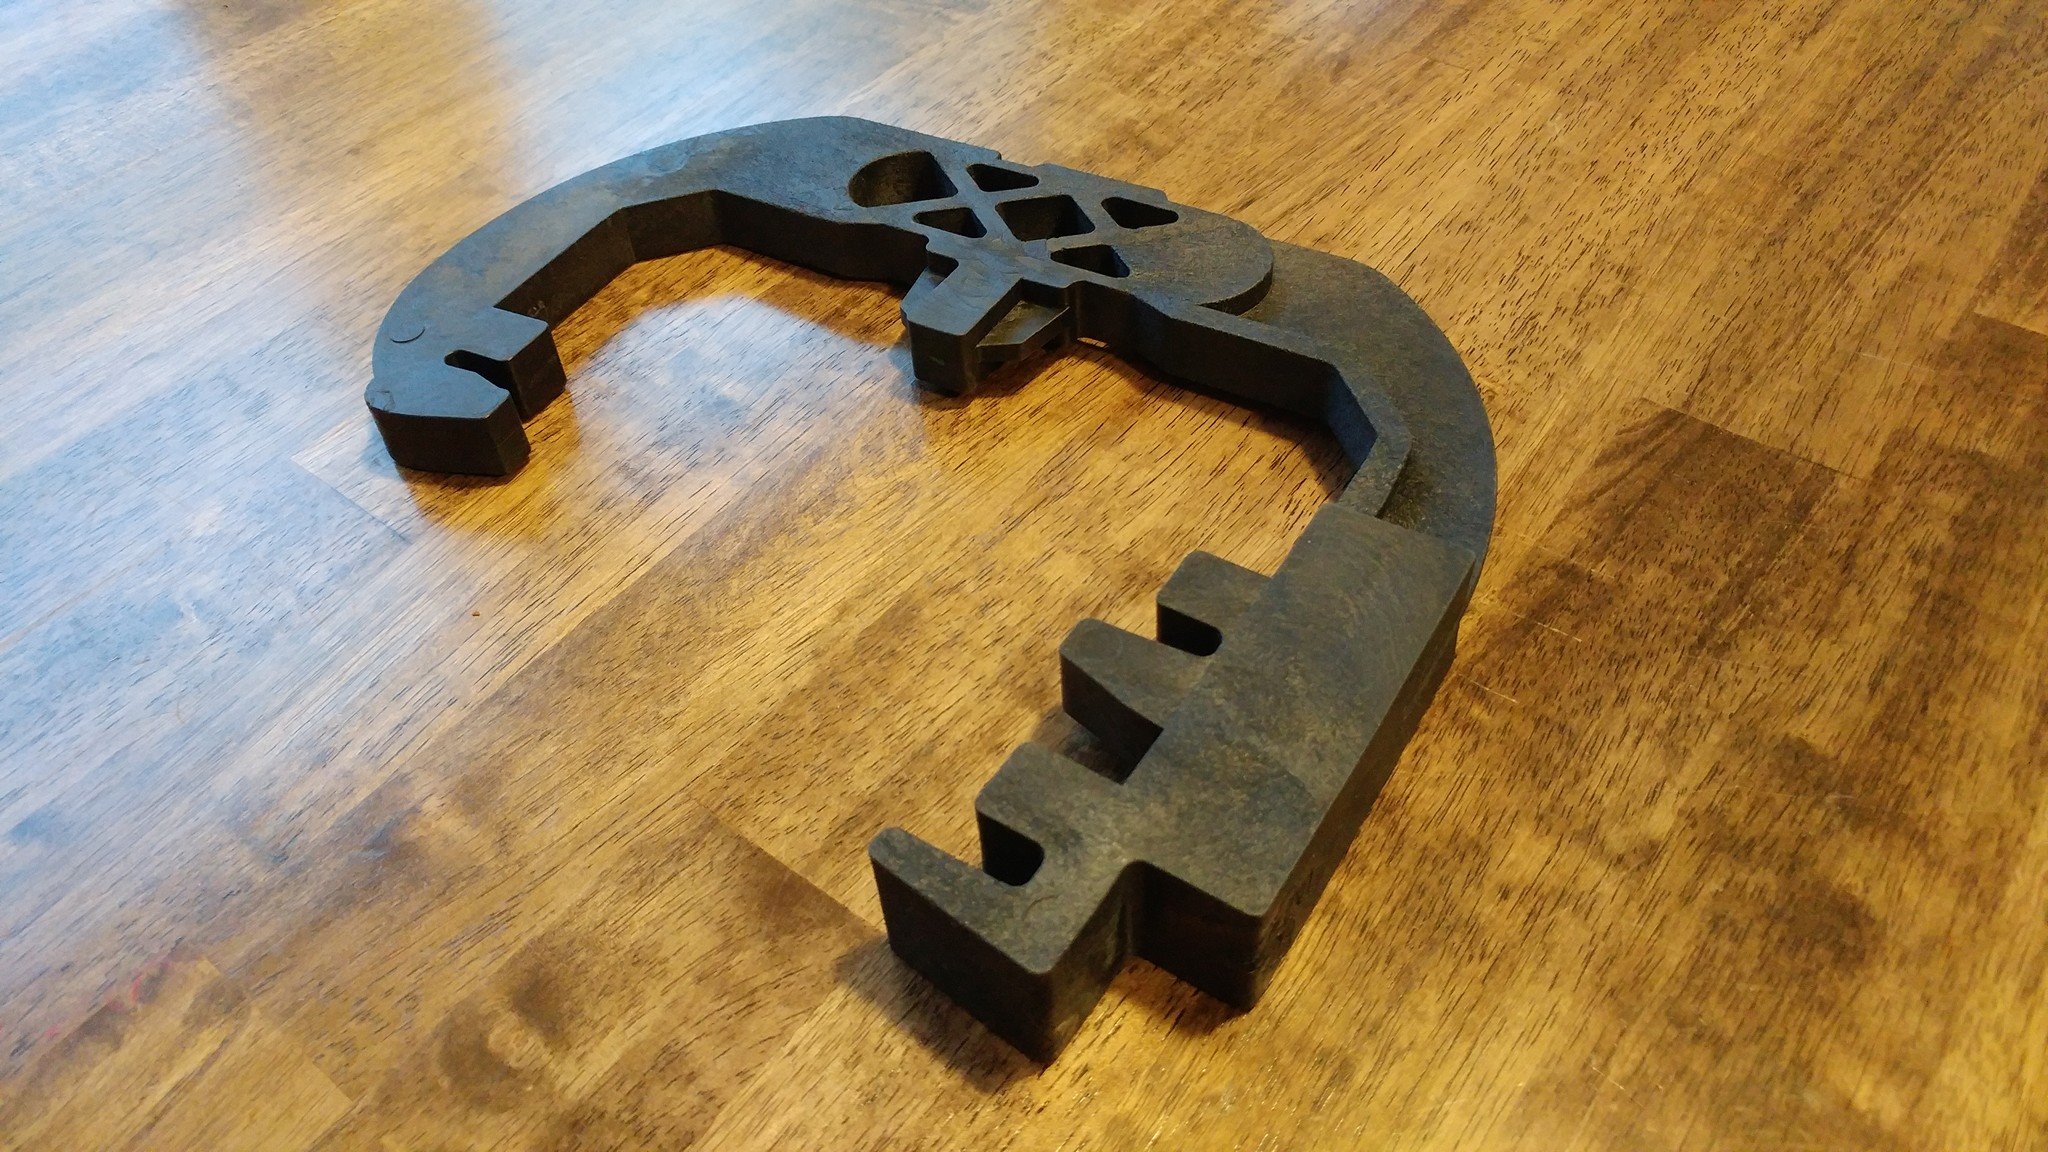
Chrysler B Pillar Mold
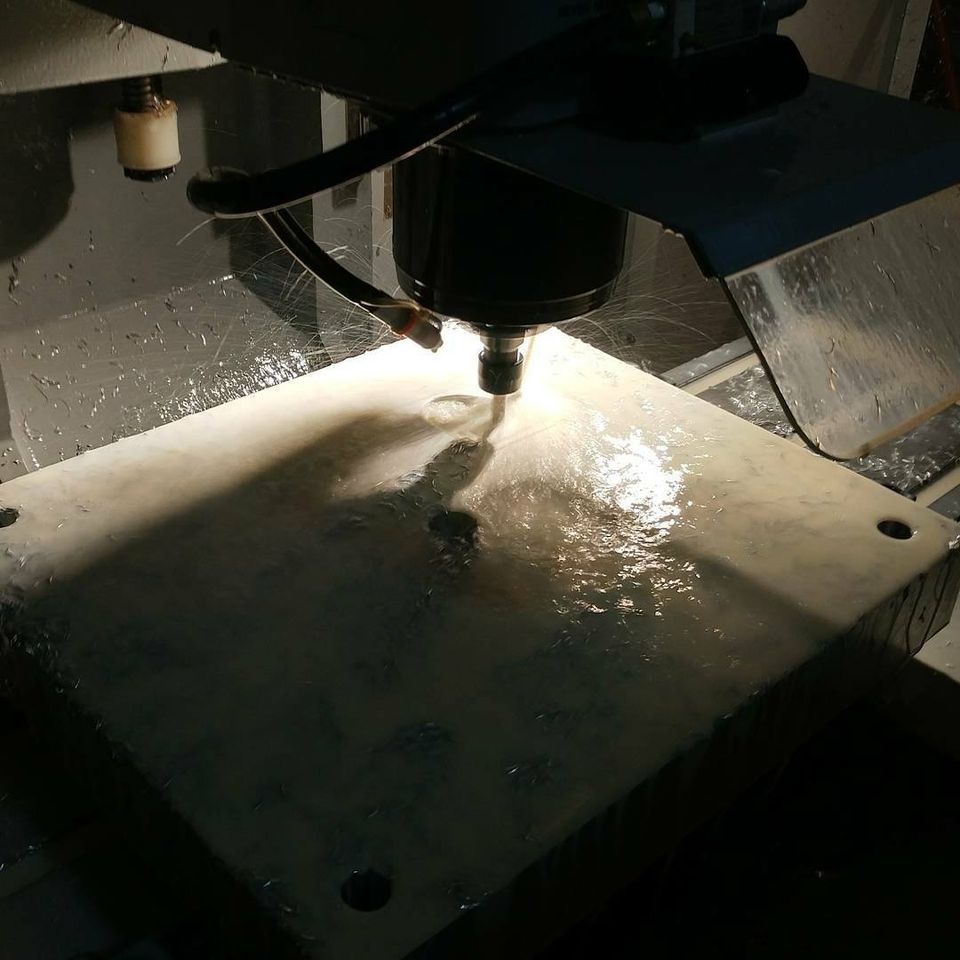
Scope: The Customer had been modifying a legacy insert to the point that there was not much left to work with. The mold was made by a previous machine shop and we modified it on several occasions, per the customer, in efforts to save the mold and save money. Problem was that we were running into machining through empty areas and drilling through unknown pockets in the material. These conditions would present new issues and additional work during the machining process such as drilling drift issues because of the irregular surfaces buried in the mold and milling through hidden bolts. This was costing me a lot of time and resources beyond the original scope of work. To my luck, the final straw came when an injection house bent the mold and it was no longer usable. As you can see from the photo below, there was not much left of the structure.
The customer asked HBK Enterprise to design them a new mold using the several attributes of the attributes of the old part with some modernization. The owner of HBK and I were good friends and business partners so he designed the mold while working with me to accommodate machining tools that I had available. This made the manufacturing process substantially easier as I was limited by the machine tool.
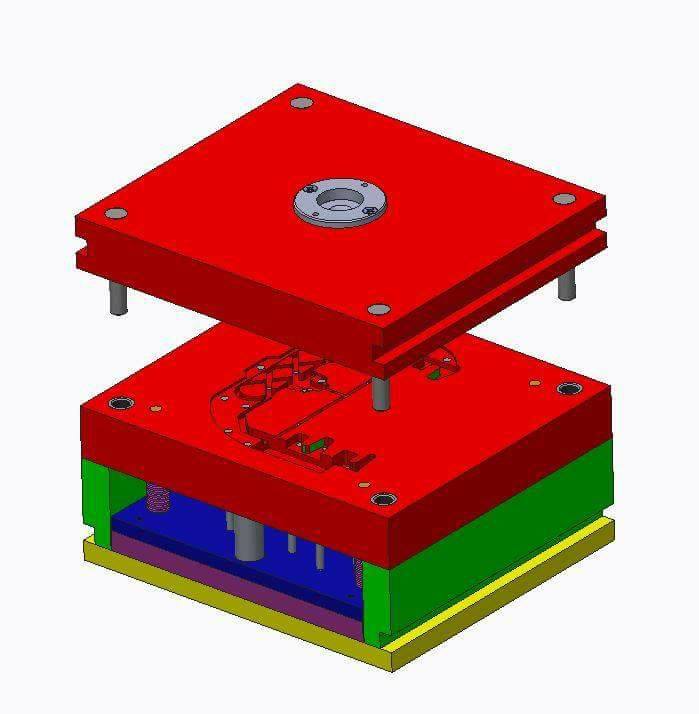
HBK Enterprise ordered the material with some pre-selected geometry as to aid in the manufacturing process.
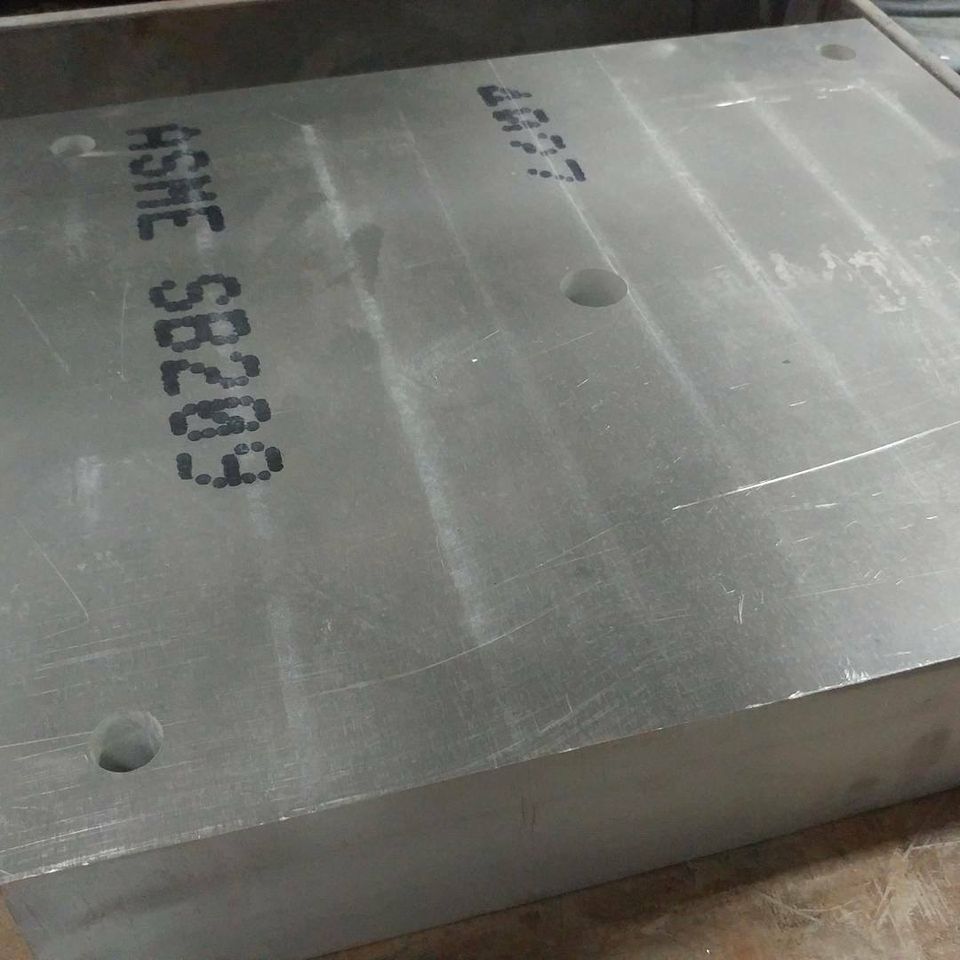
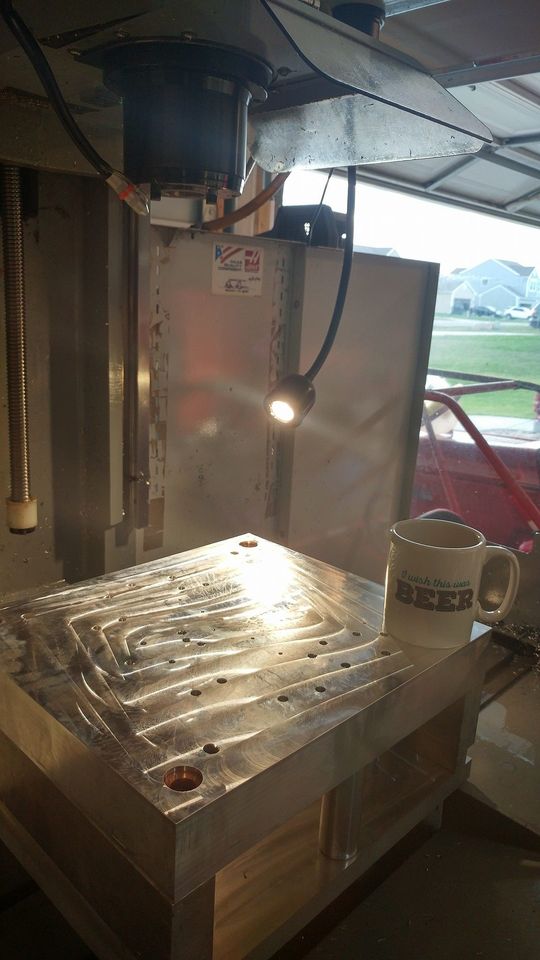
As you can see in this photo, the mold is 2 times larger than my machining table and I had to use the pre-machined geometries to pick up on. Each side had 2 setups, milling from the center hole down, then from the center hole up.
Here is the Large base fully assembled on the table. I machined all the lower pieces then assembled the mold and machined the top flat. This was to done to ensure the top of the mold was parallel to the bottom of the mold, regardless of the tolerances that could be in between (ie. Bottom plate and the legs).
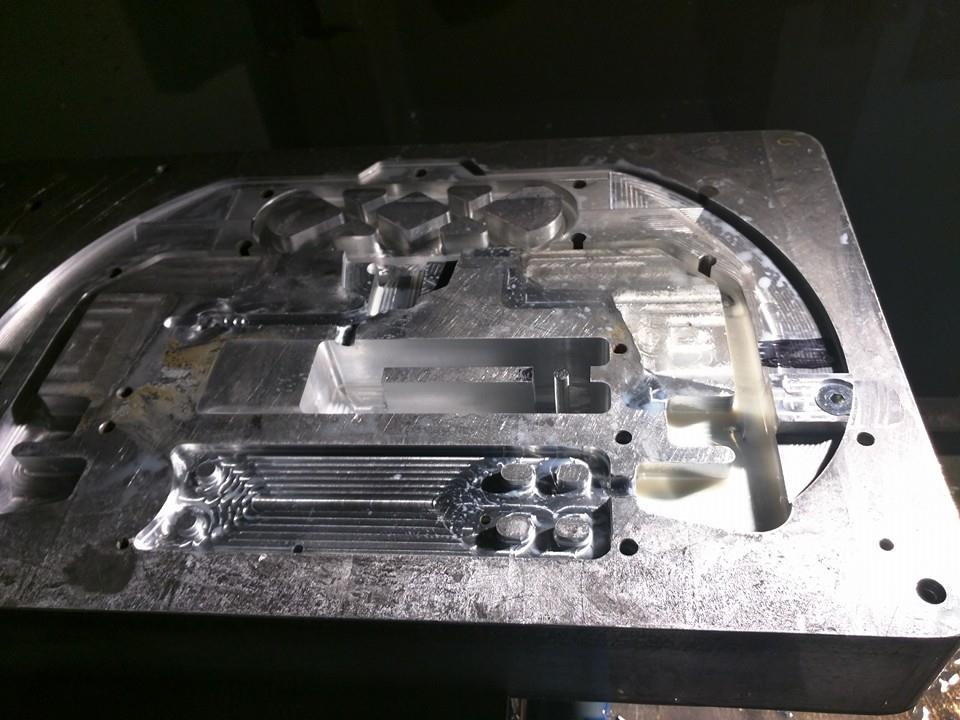
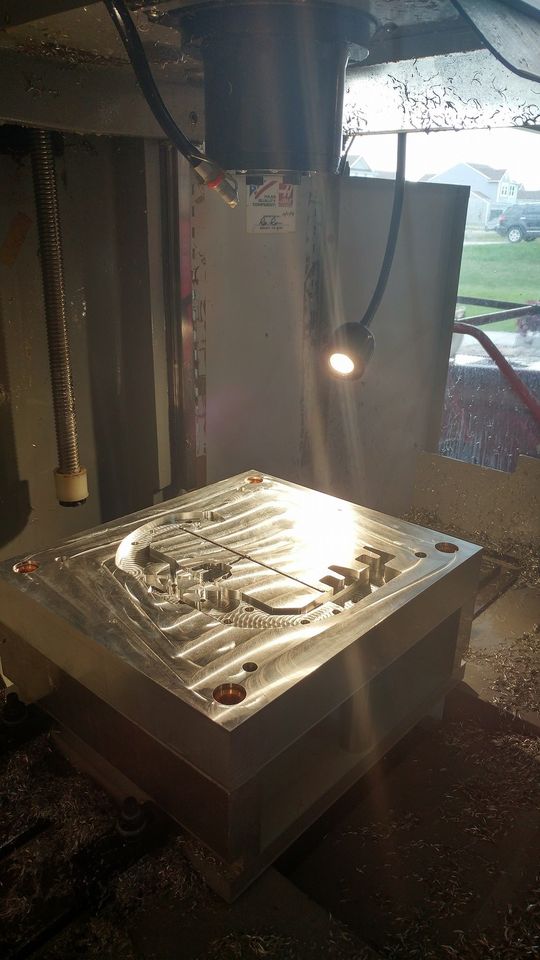
Here the final geometry is machined into this half of the mold along with the pushpin holes and runners. The ballscrew and liner guides of the machine are exposed because I had to remove the way cover to accommodate the the size of the mold. Without modifying the machine, the material would have destroyed to protective shield.
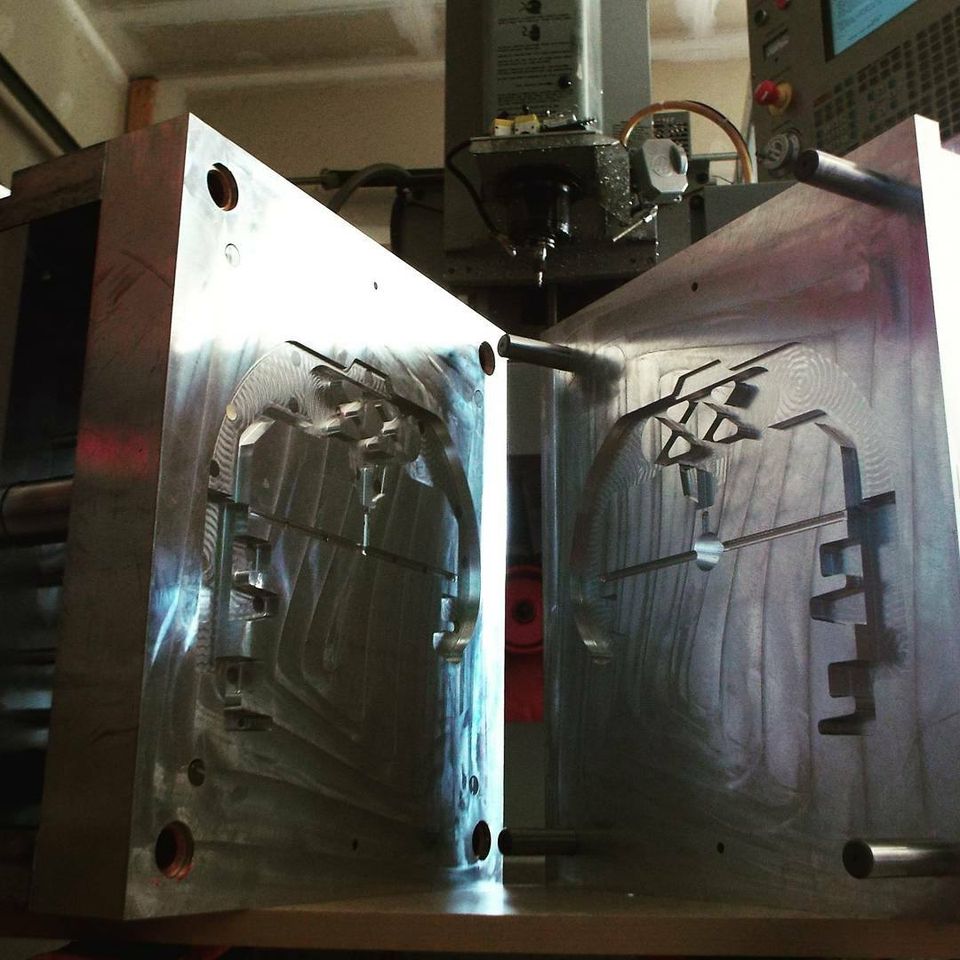
The complete core and cavity took about a week to finish. I worked on weekends and after my normal job everyday to finish this project in the 14 day timeframe from the customer. That is right… 14 days desingned and machined.
Below is and example of the finished part